In this tutorial, I’ll guide you through installing ComfyUI locally on your computer.
By the end, you’ll have a fully functional setup ready to explore and customize.
NOTEWe will be installing the portable version. In the portable version, all dependencies are preinstalled and preconfigured.
It’s the easiest way to “install” ComfyUI, but you can also install it manually (by downloading all the dependencies) or set it up on a cloud server.
Table of Contents
Introduccion
What is ComfyUI?
ComfyUI is a node-based, user-friendly interface (UI) for AI-powered workflows.
This tool enables you to create, test, and manage tasks effortlessly, making it a favorite among developers and enthusiasts.
Some features include
- A flowchart-like interface that lets users define workflows at the node level
- The ability to tweak node-level parameters and write custom nodes
- Optimizations like re-executing only parts of the workflow that change
- The ability to save and load workflows as JSON files or PNG files.
Requisites
- A compatible GPU and drivers (if you plan to use GPU acceleration)
- A program to decompress a .7zip file (Winrar or similar)
- Python (don’t worry, python is pre-installed in the portable version)
IMPORTANTI have only tested ComfyUI with NVIDIA GPUs.
PC specs on which I am installing it
For this tutorial, I’m installing it on a 10-year-old computer to demonstrate that you can run it on almost any “modern” computer.
The specifications are as follows:
- GPU: NVIDIA GTX 1070 (8GB VRAM)
- CPU: Intel Core i7-6700K
- RAM: Corsair 16GB DDR4 3200MHz
- OS: Windows 10
Step-by-Step Guide
ComfyUI Installation
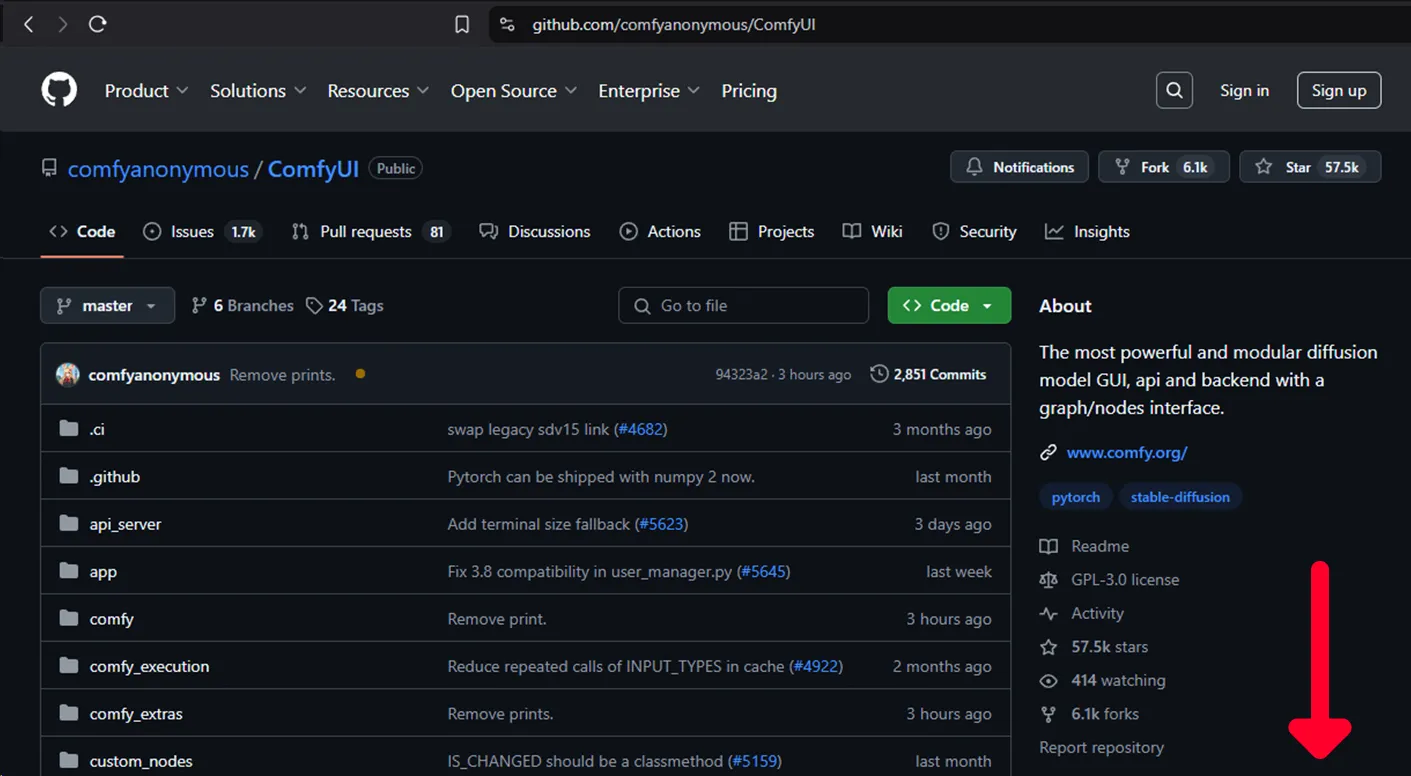
Go to the following link https://github.com/comfyanonymous/ComfyUI to download ComfyUI
and go down to the Installation section.
TIPYou can also use this link to go direct to the download section
https://github.com/comfyanonymous/ComfyUI?tab=readme-ov-file#installing
Click on Direct link to download

Save the 7zip file wherever you prefer. 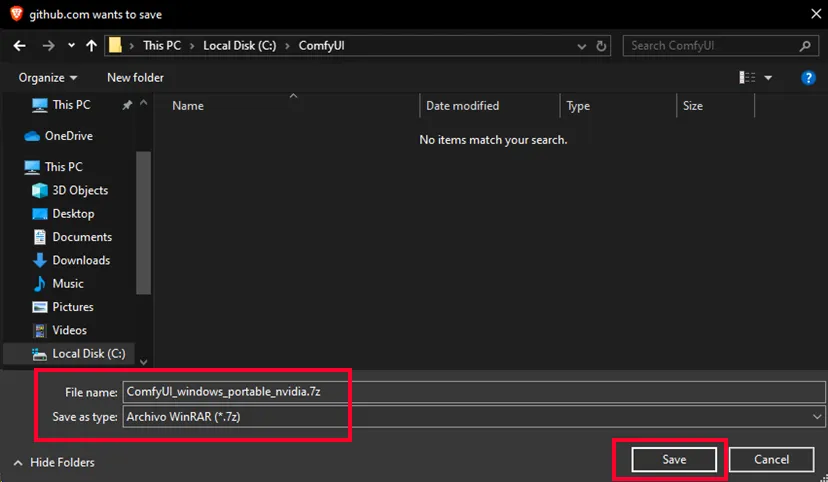
Extract (decompress) the .7z file to obtain the portable folder. 
Go to the folder and open the run_nvidia_gpu.bat file to start the process. 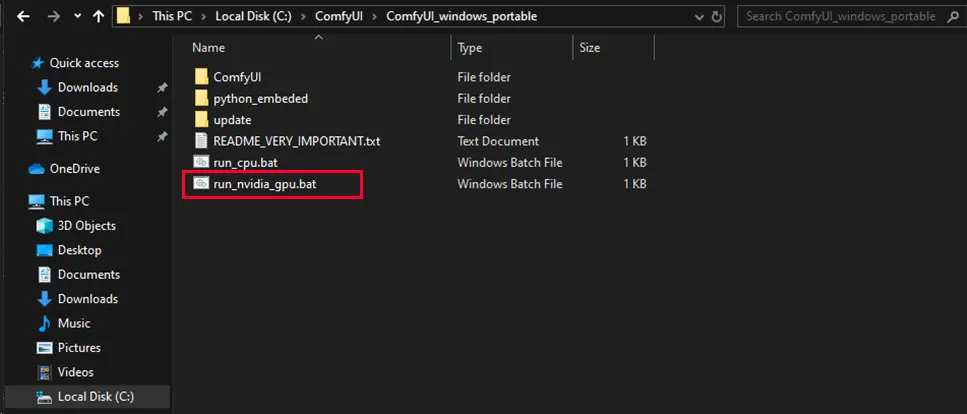
The process will open a CMD window.
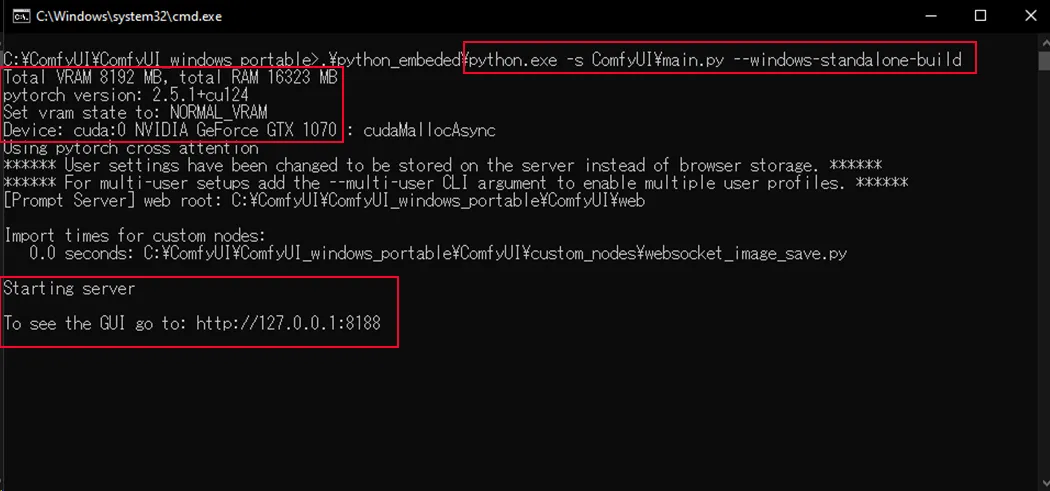
The .bat file will execute a Python process, as you can see in the first line of the image. It will also verify your system and compatibility.
If everything is set up correctly, you will see the port where the UI is running (127.0.0.1:8188 by default).
DO NOT CLOSE THE CMD WINDOWThis window is running all the processes behind the scenes.
Only close it when you’re done.
Every time you want to run ComfyUI, execute the .bat file again to run all the Python scripts.
IMPORTANTAt the end, it will open a web browser window.
If it doesn’t, simply enter the following address in your browser:http://127.0.0.1:8188.

Model Installation
If you try to generate an image, an error message will appear.
This happens because you don’t have a model to generate images.
It’s time to install an uncensored model (to generate NSFW images 😈).
TIPIf you don’t know what a model is, you should read the basic concepts. [paste link here xd]
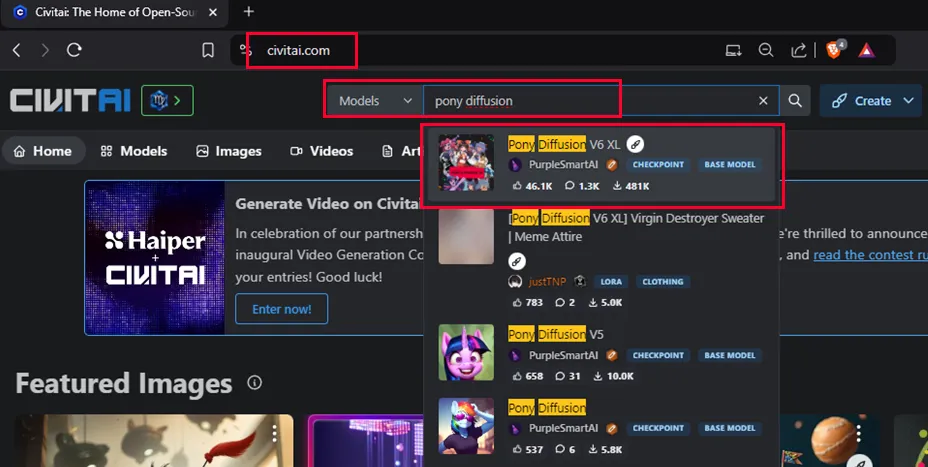
To download the model, go to the following link: https://civitai.com.
Search for pony diffusion and click on the first result.
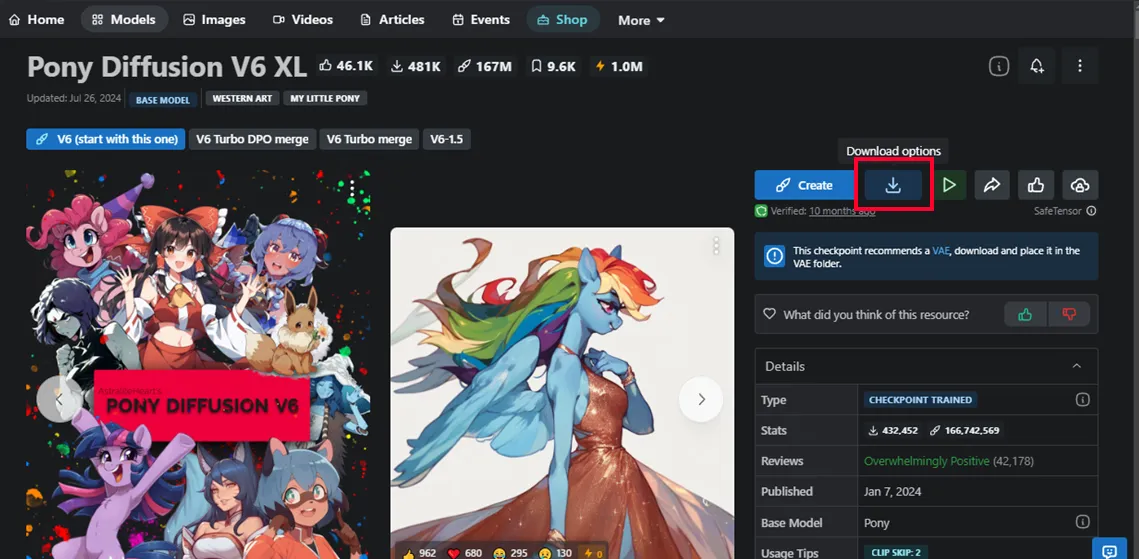
Click the download button.
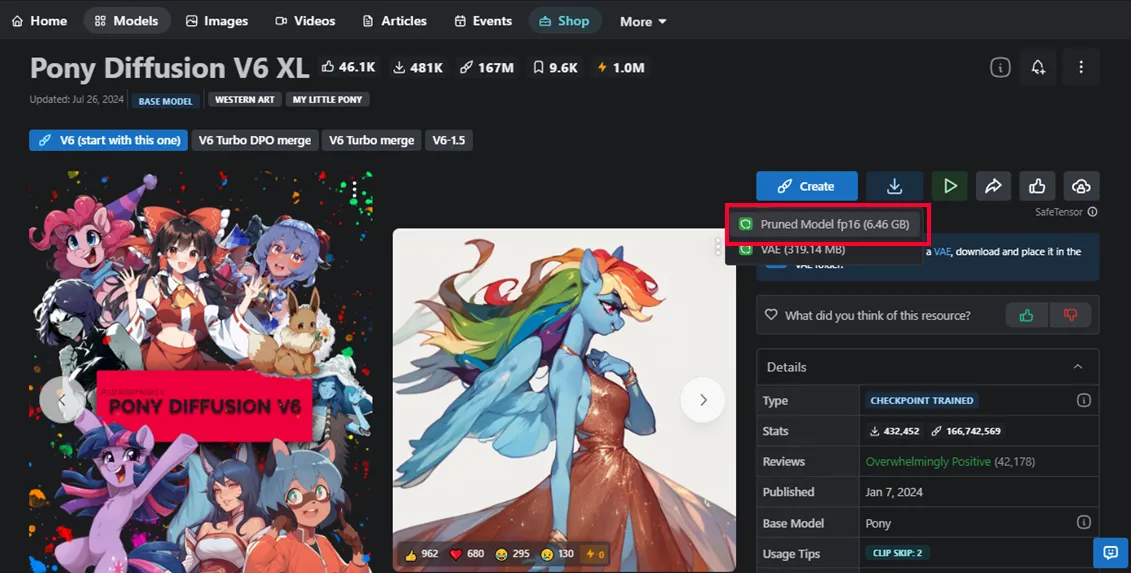
Click on Pruned Model fp16.
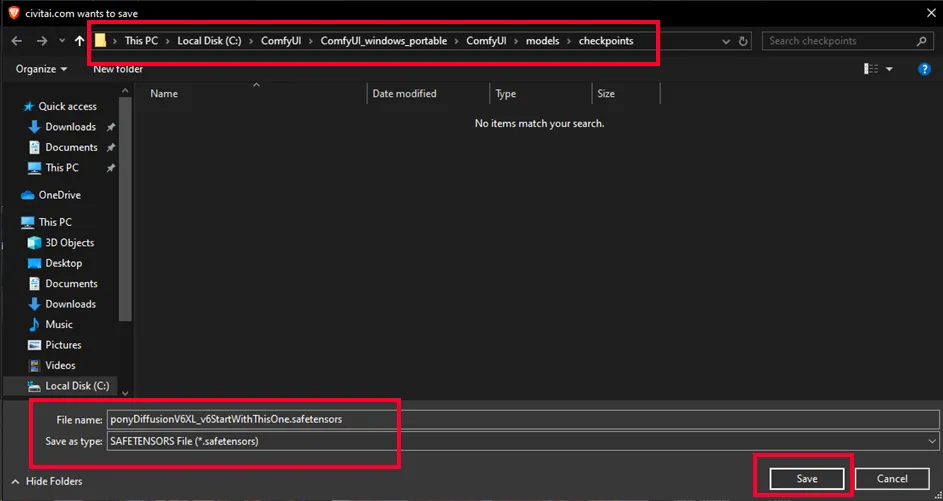
Save the safetensors file (model) in the following directory:ComfyUI_windows_portable/ComfyUI/models/checkpoints
Go to the browser UI and refresh the UI.
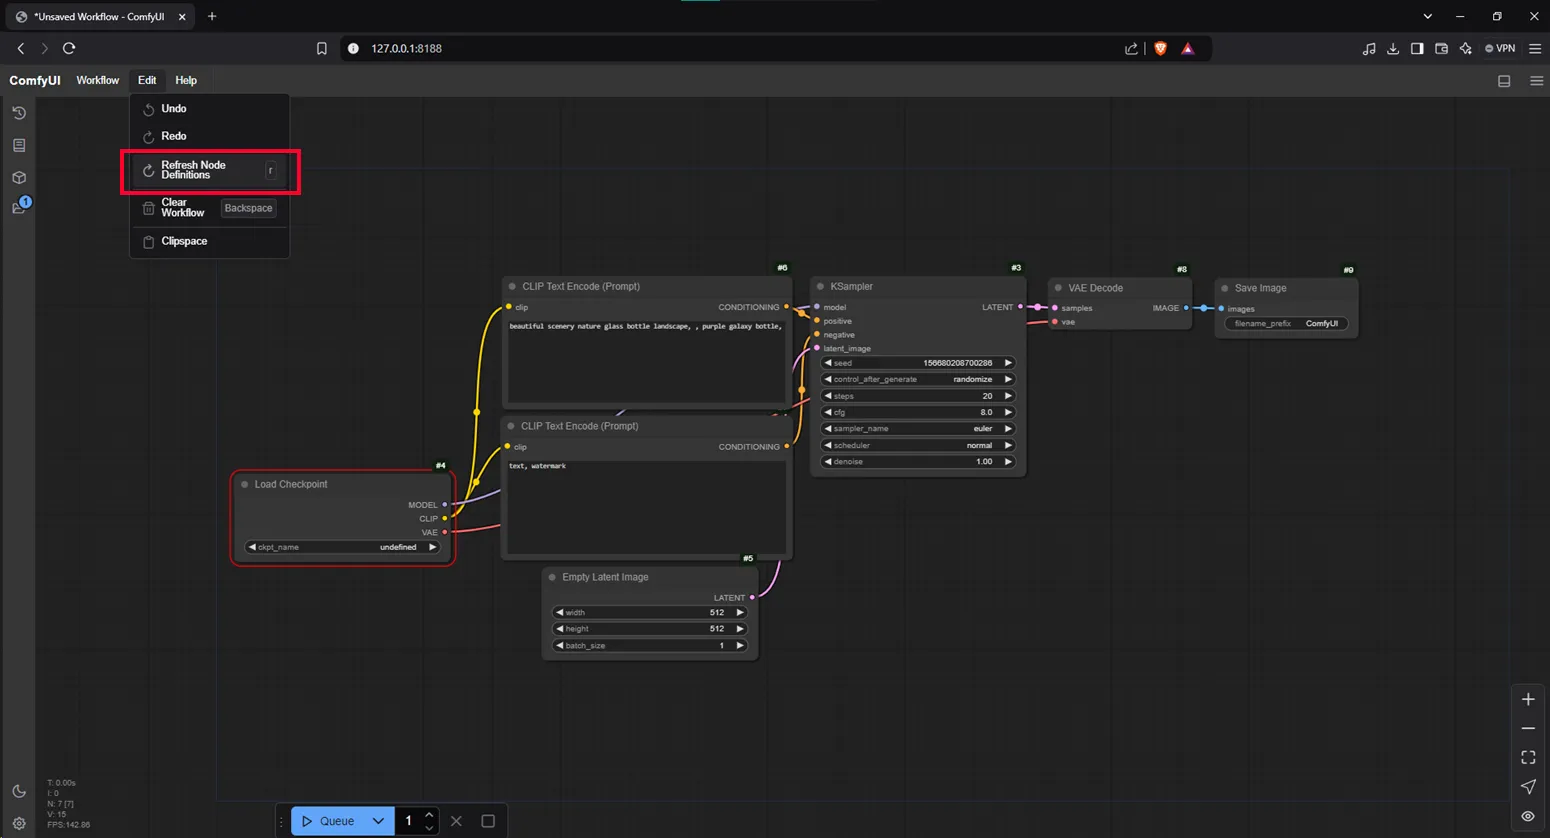
Go to the Load Checkpoint block and select the PonyDiffusion model.
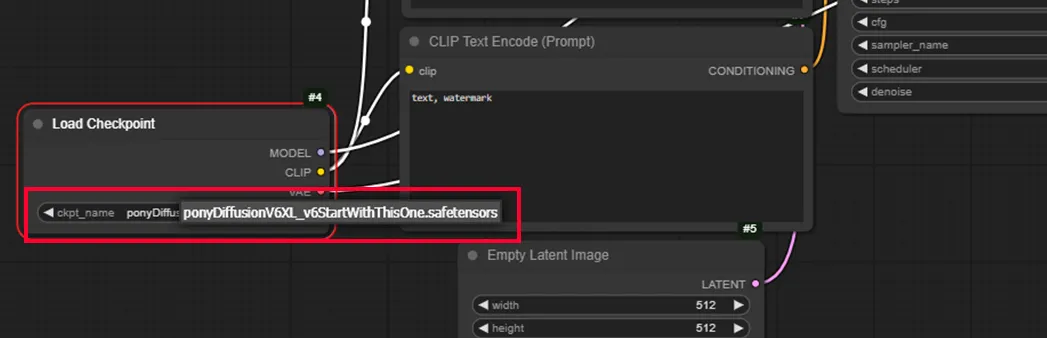
And that’s it.
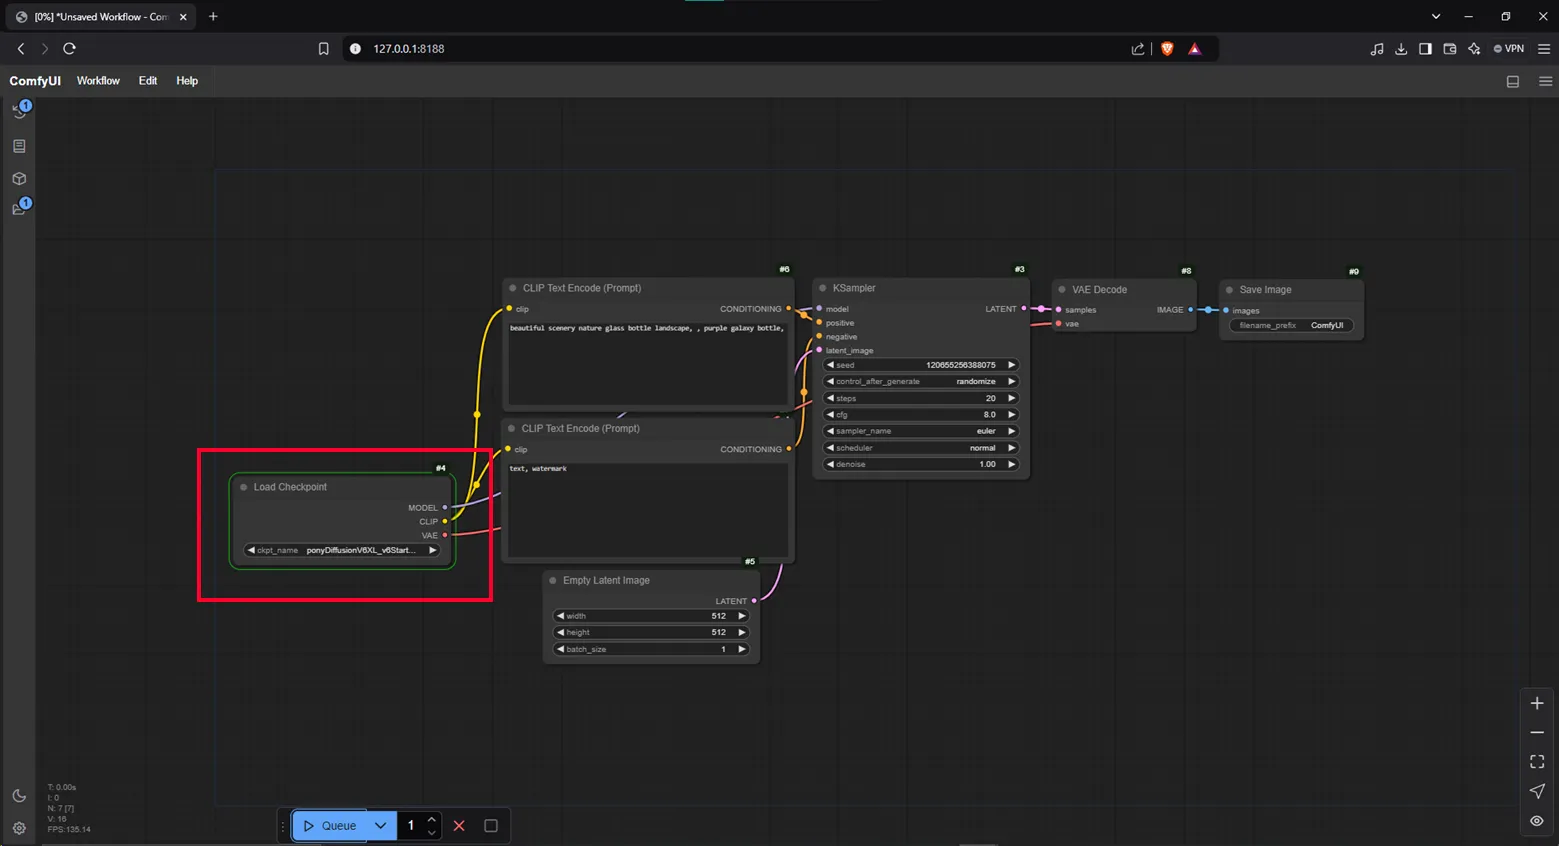
Just run the process to verify that everything is working correctly.
NOTEIf the model is correctly installed, when you try to generate an image, the
Load Checkpointblock will appear in green, as shown in the image.
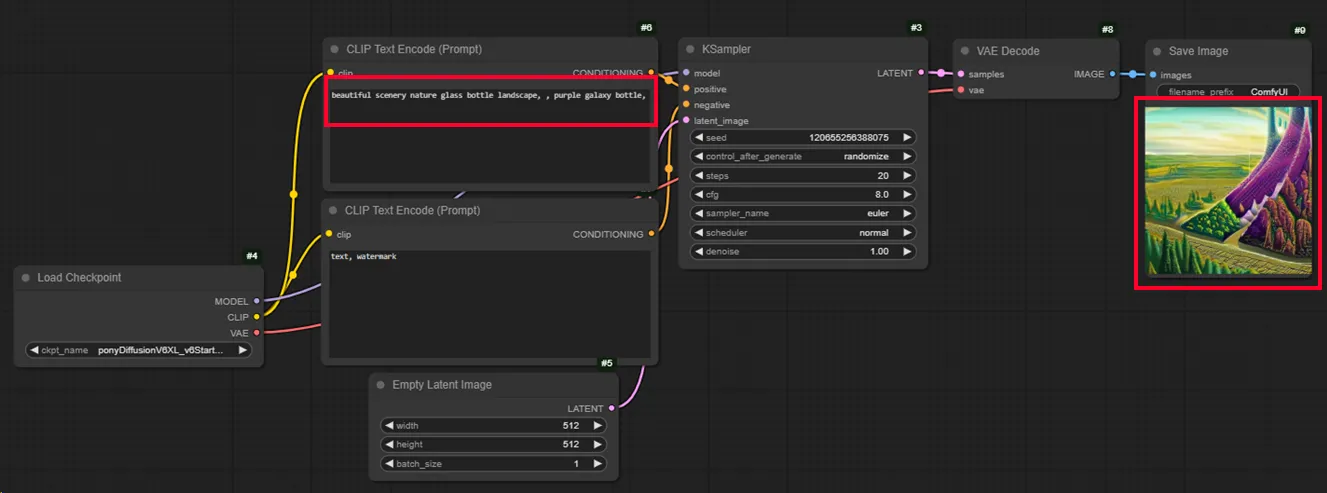
You will generate a random image based on your positive prompt, as shown in the image.
Let’s play
- Modify some parameters to generate what you want.
- Reorder your blocks as you like.
- Make sure all your nodes are correctly connected.
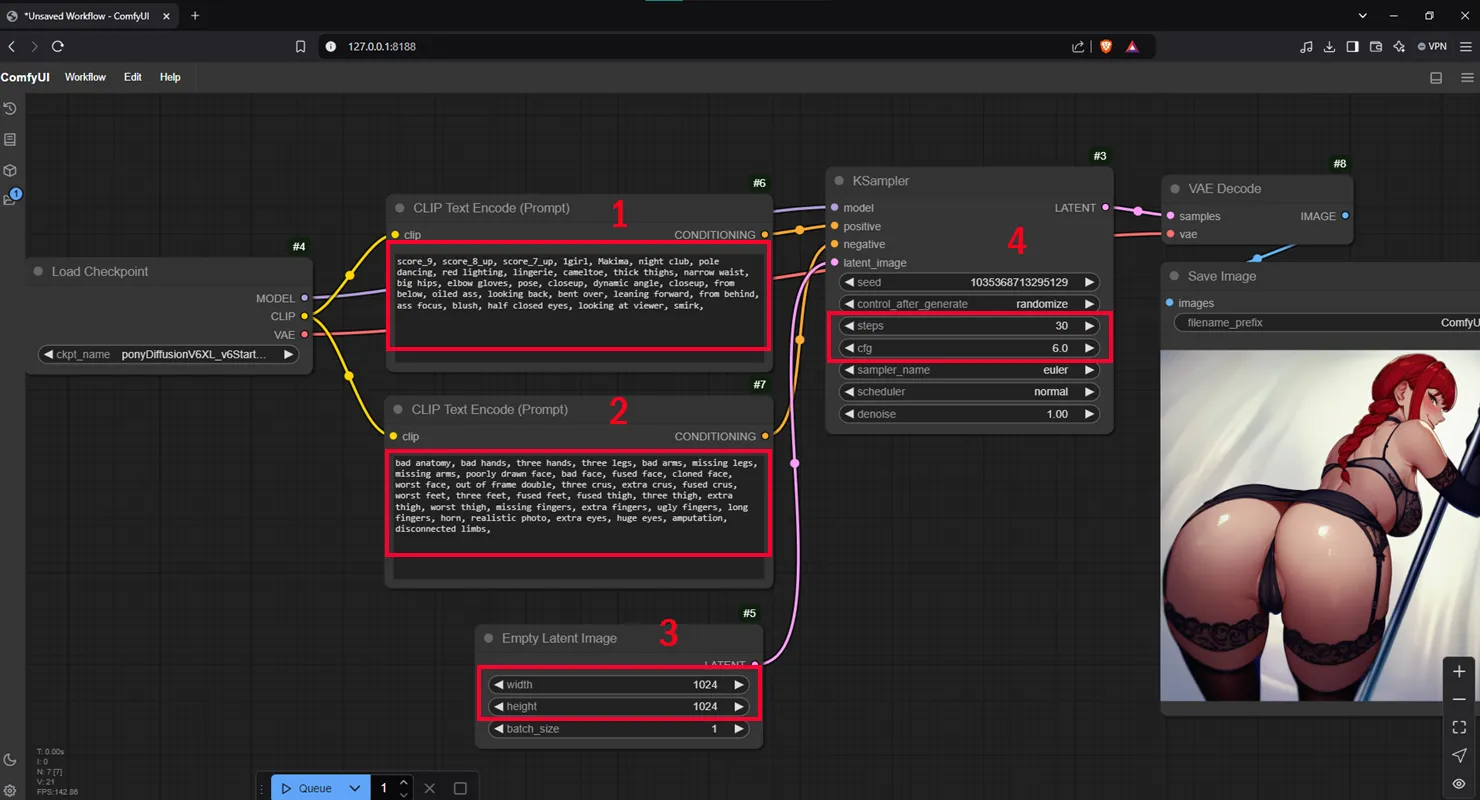
Here’s a simple explanation of what the red parts mean:
- Positive prompt (what do you want)
- Negative prompt (what do you NOT want)
- Image resolution
- Steps (quality) and CFG (intensity)
NOTEEvery image you generate will be saved by default in
ComfyUI_windows_portable/ComfyUI/output.
In the next tutorials, I will explain prompting, what each parameter means, and how to adjust them to generate the best images.